Welcome to the Taylor Guitar Factory Tour
If you play guitar then you know all about Taylors, the fancy guitar built in San Diego country in El Cajon. Recently they started up their factory tours on Fridays and I was lucky enough to snag a ticket. I grabbed my Instax Mini Evo camera to capture all of their secrets and want to share them step by step so you can build your own Taylor!
TAYLOR GUITAR FACTORY: 1980 Gillespie Way, El Cajon, CA 92020
TOURS FRIDAYS AT 11:15 AND 1:45: Free Tickets
STEP ONE: GET SOME WOOD
Find the nicest wood you can get and lay it out so it dries to the proper humidity. If you have a large garage just stack it up. Rosewood and Koa are nice, just use what you can get.

Start with some good wood. Koa is nice.

The Taylor guitar factory
step 2: glue the wood
Now that you have the wood planed and ready to go, glue the wood to form one larger piece, making sure that the seams match up to form mirror images for the back. If you have a handy carousel like this one you can glue multiple guitar pieces at once. The glue should be dried in 45 minutes. While you wait move to the next step.
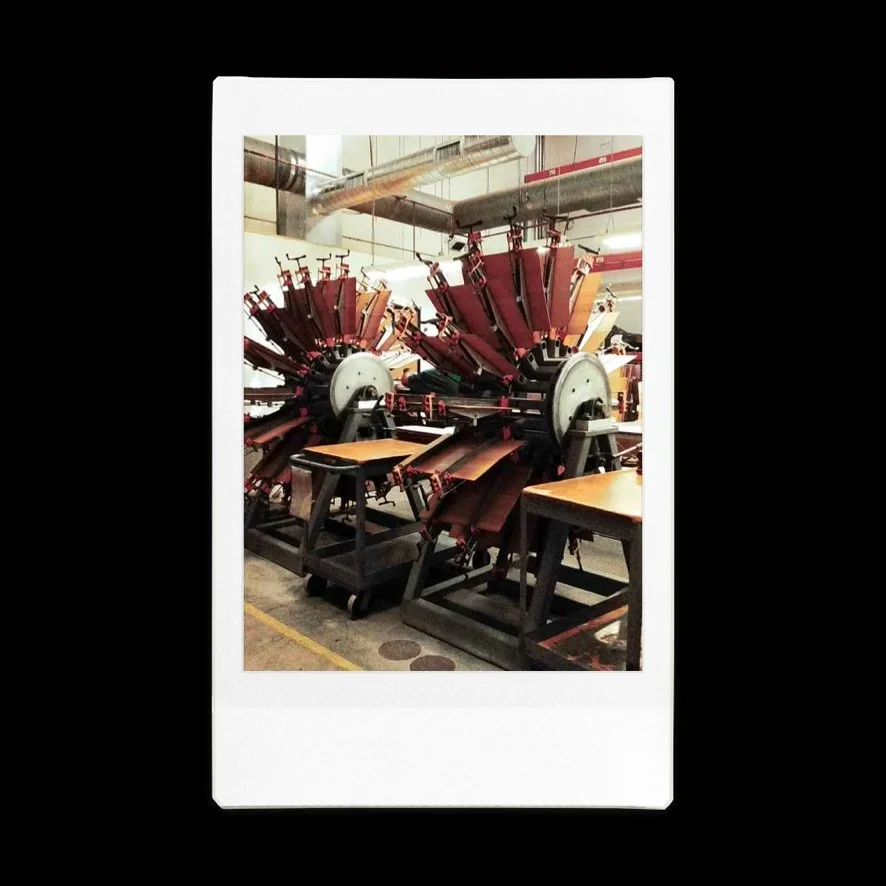
Gluing the wood
step 3: Make the necks
Fairly straight forward, build the neck using three pieces of wood and pieced together at the proper angles for optimum strength. Sand them nice and smooth and insert hardware for the truss rod.
Once you are satisfied with the neck move to the next step and gently install the frets. This is done by feel so take your time.
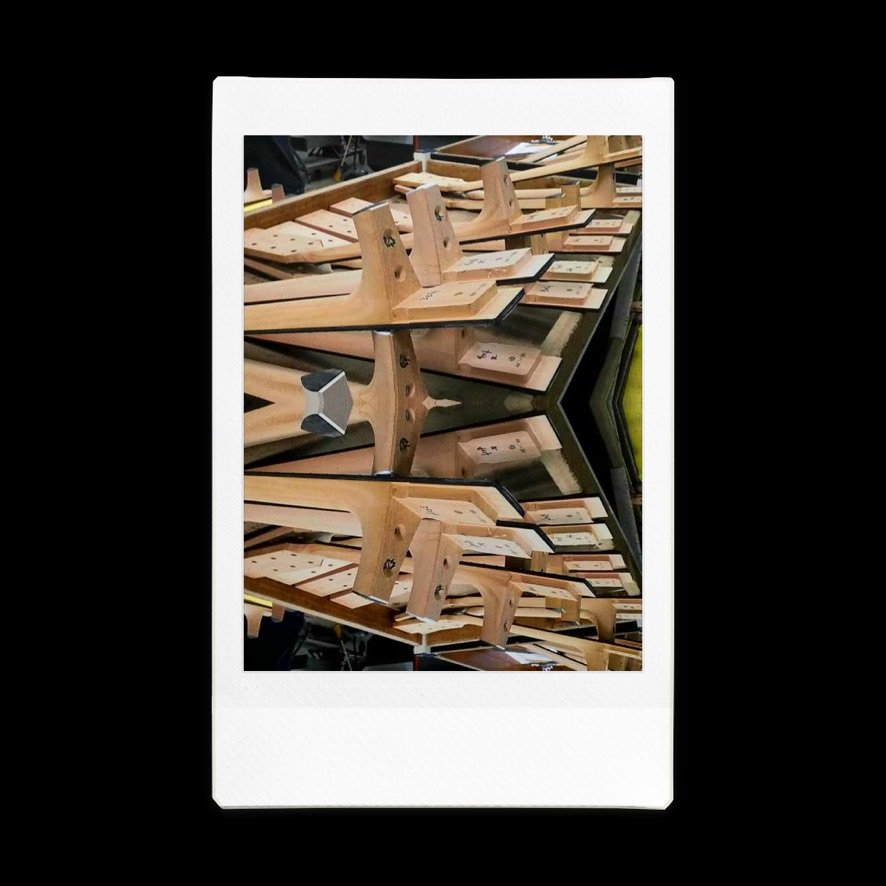
Guitar necks

Starting to come together

Install the frets
Step 4: cut the body shape out
Pull out that laser you bought yourself but never used and cut out the top and back of the guitar. Take your time as this part has to be perfect or it won’t be a Taylor guitar.

STEP 5: INSTALL ROSETTE
Next step is to simply install the rosette around the soundhole. You might want to get a bit of help on this part if your laser skills are not that good. The final result below. It’s starting to look like a guitar, you’re almost there.


STEP 6: ASSEMBLE THE BODY
Add internal bracing and glue up guitar. Once glued place into your robotic sanding machine to buff out the finish. The final result should look like this below. If you’ve gotten this far good work! Make a final check of the body before moving on.


Checking out the handiwork of a well crafted Taylor
Step 7: assemble neck to body
Once you attach the neck to the body it’s time to set it up with strings. Congratulations! You just built a Taylor Guitar! Hang it on the wall with your other Taylors.

Finished Taylor Guitar